
This morning, my floor was covered in multi-colored pom poms, cotton balls, pipe cleaners, crayons, glue sticks, googly eyes, straws, and empty plastic baggies. The kids and I have a blast making frog masks, hungry caterpillars, watercolored paper chickens, and sunny scenes with stickers…. but, what am I supposed to do with all of these beloved projects when they’re done? My children are very aware of every single art project they’ve created and where it last hung or which window it was sitting in.
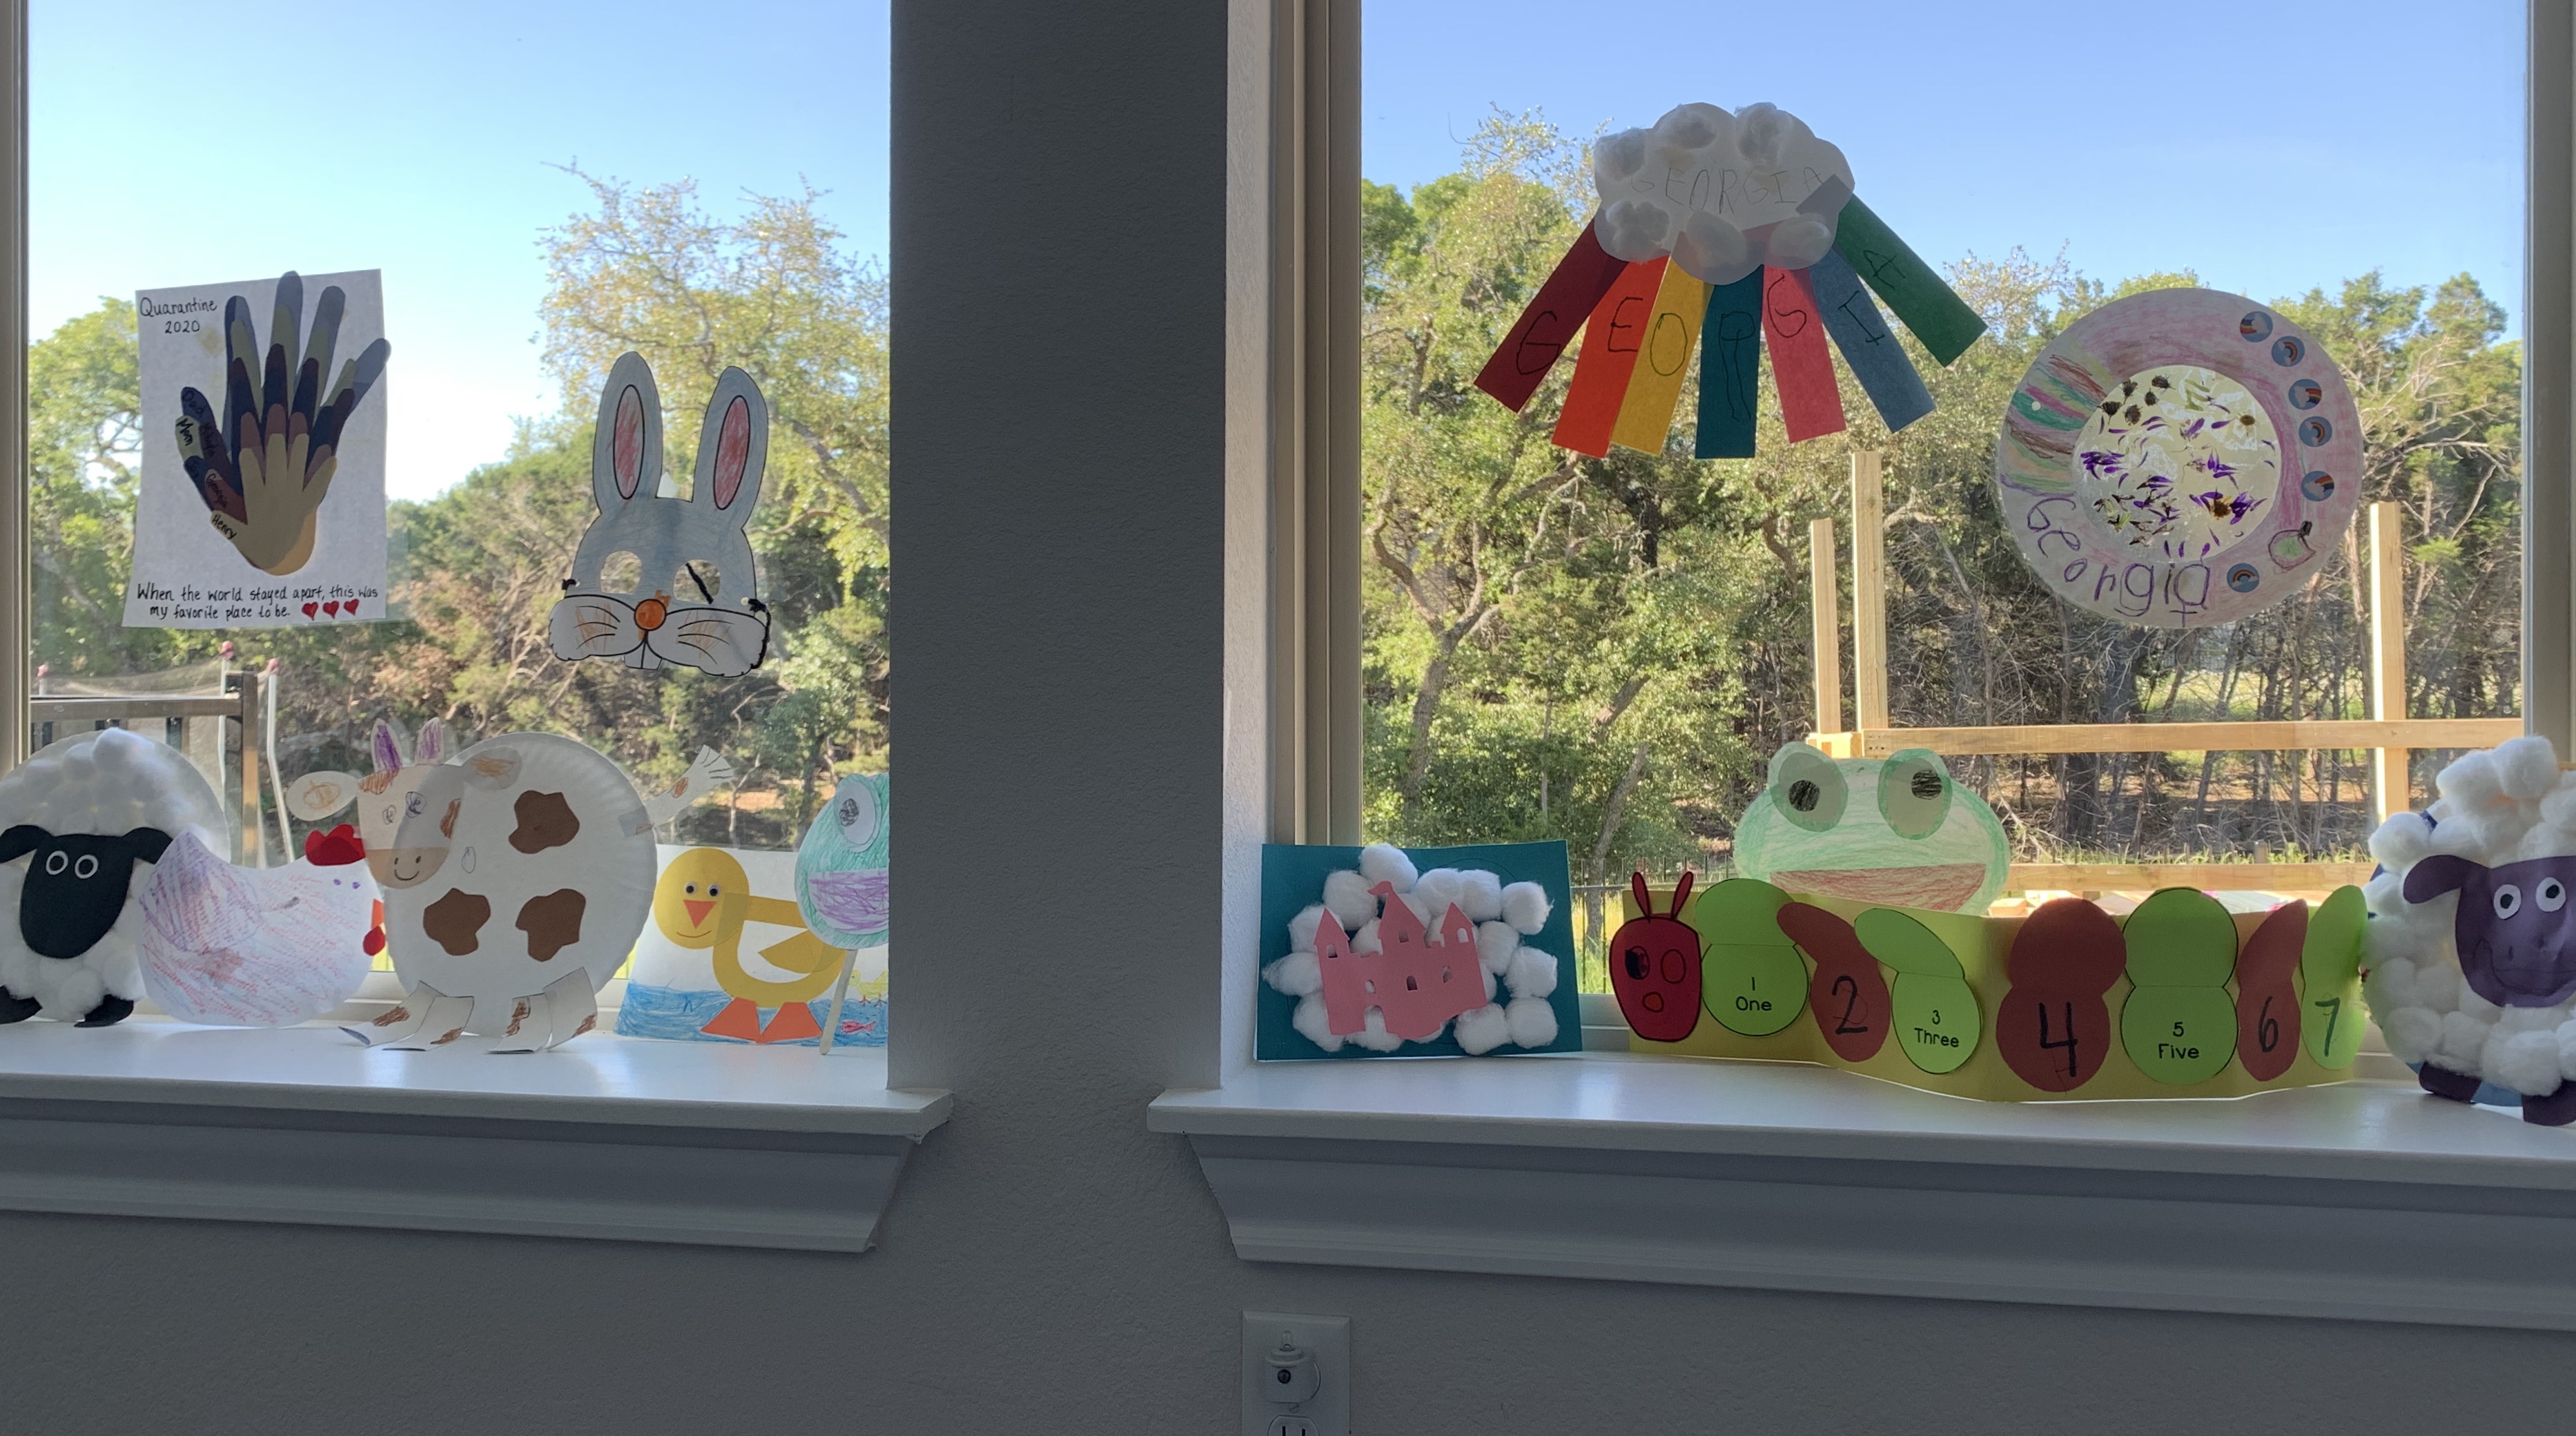
That means there are no opportunities to discretely sneak them into the recycling bin. This issue has led me to start thinking up and researching simple crafts that serve a purpose beyond a fun few minutes with the kids and walls full of half-colored creations.
As we enter into our last month of homeschooling for this year, I am feeling a sense of re-motivation and decided to brain-dump my list of purposeful, easy crafts for kids right here.
1. Simple Homemade Bird Feeder
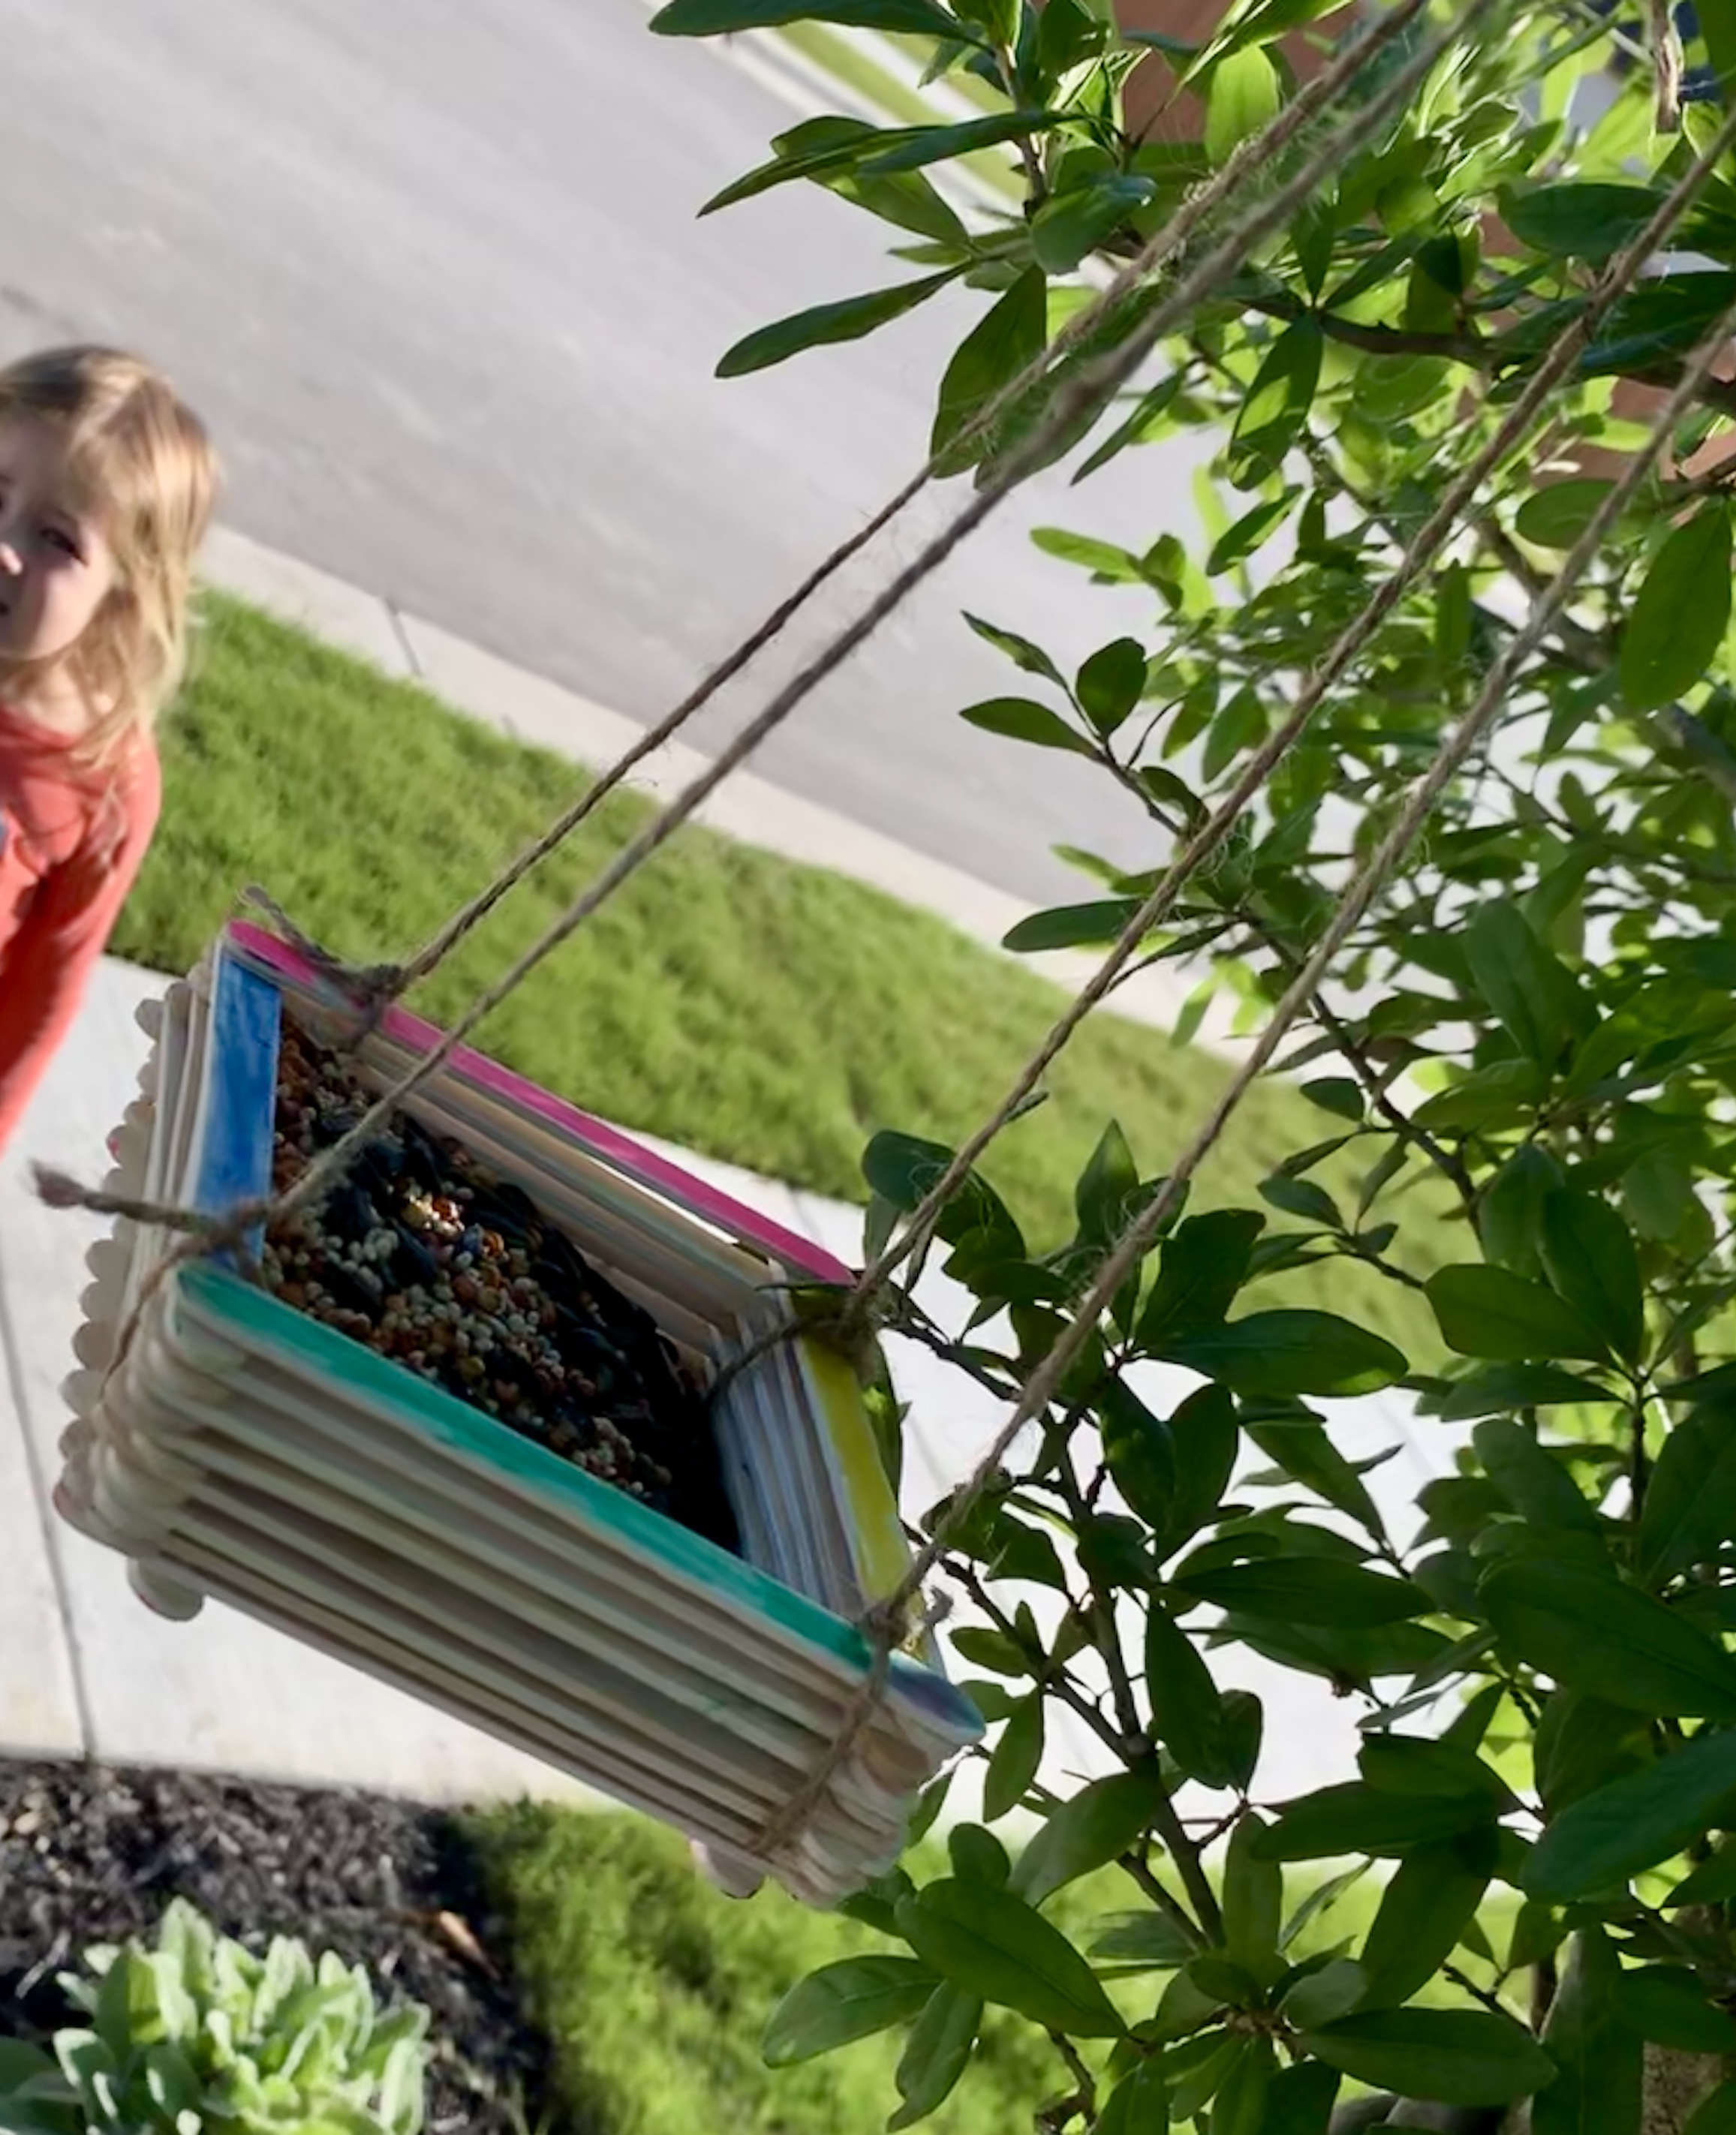
Pull out those dusty popsicle sticks, a few markers, some twine, and glue. Have kids color the sticks as they choose and then assemble a base by placing two sticks a few inches apart and then building a floor on top of that. From there, create sides by gluing each layer in an alternating pattern. Tie the twine on to all four corners, leaving enough length to tie the top around a tree branch. Then, fill with bird seed and watch the sparrows flock your tree. Don’t keep birdseed around? Your local grocery store likely carries it for pretty cheap. We bought some to make ornaments last Christmas and paid less than $2 for a 4 lb bag at HEB.
2. DIY Costumes
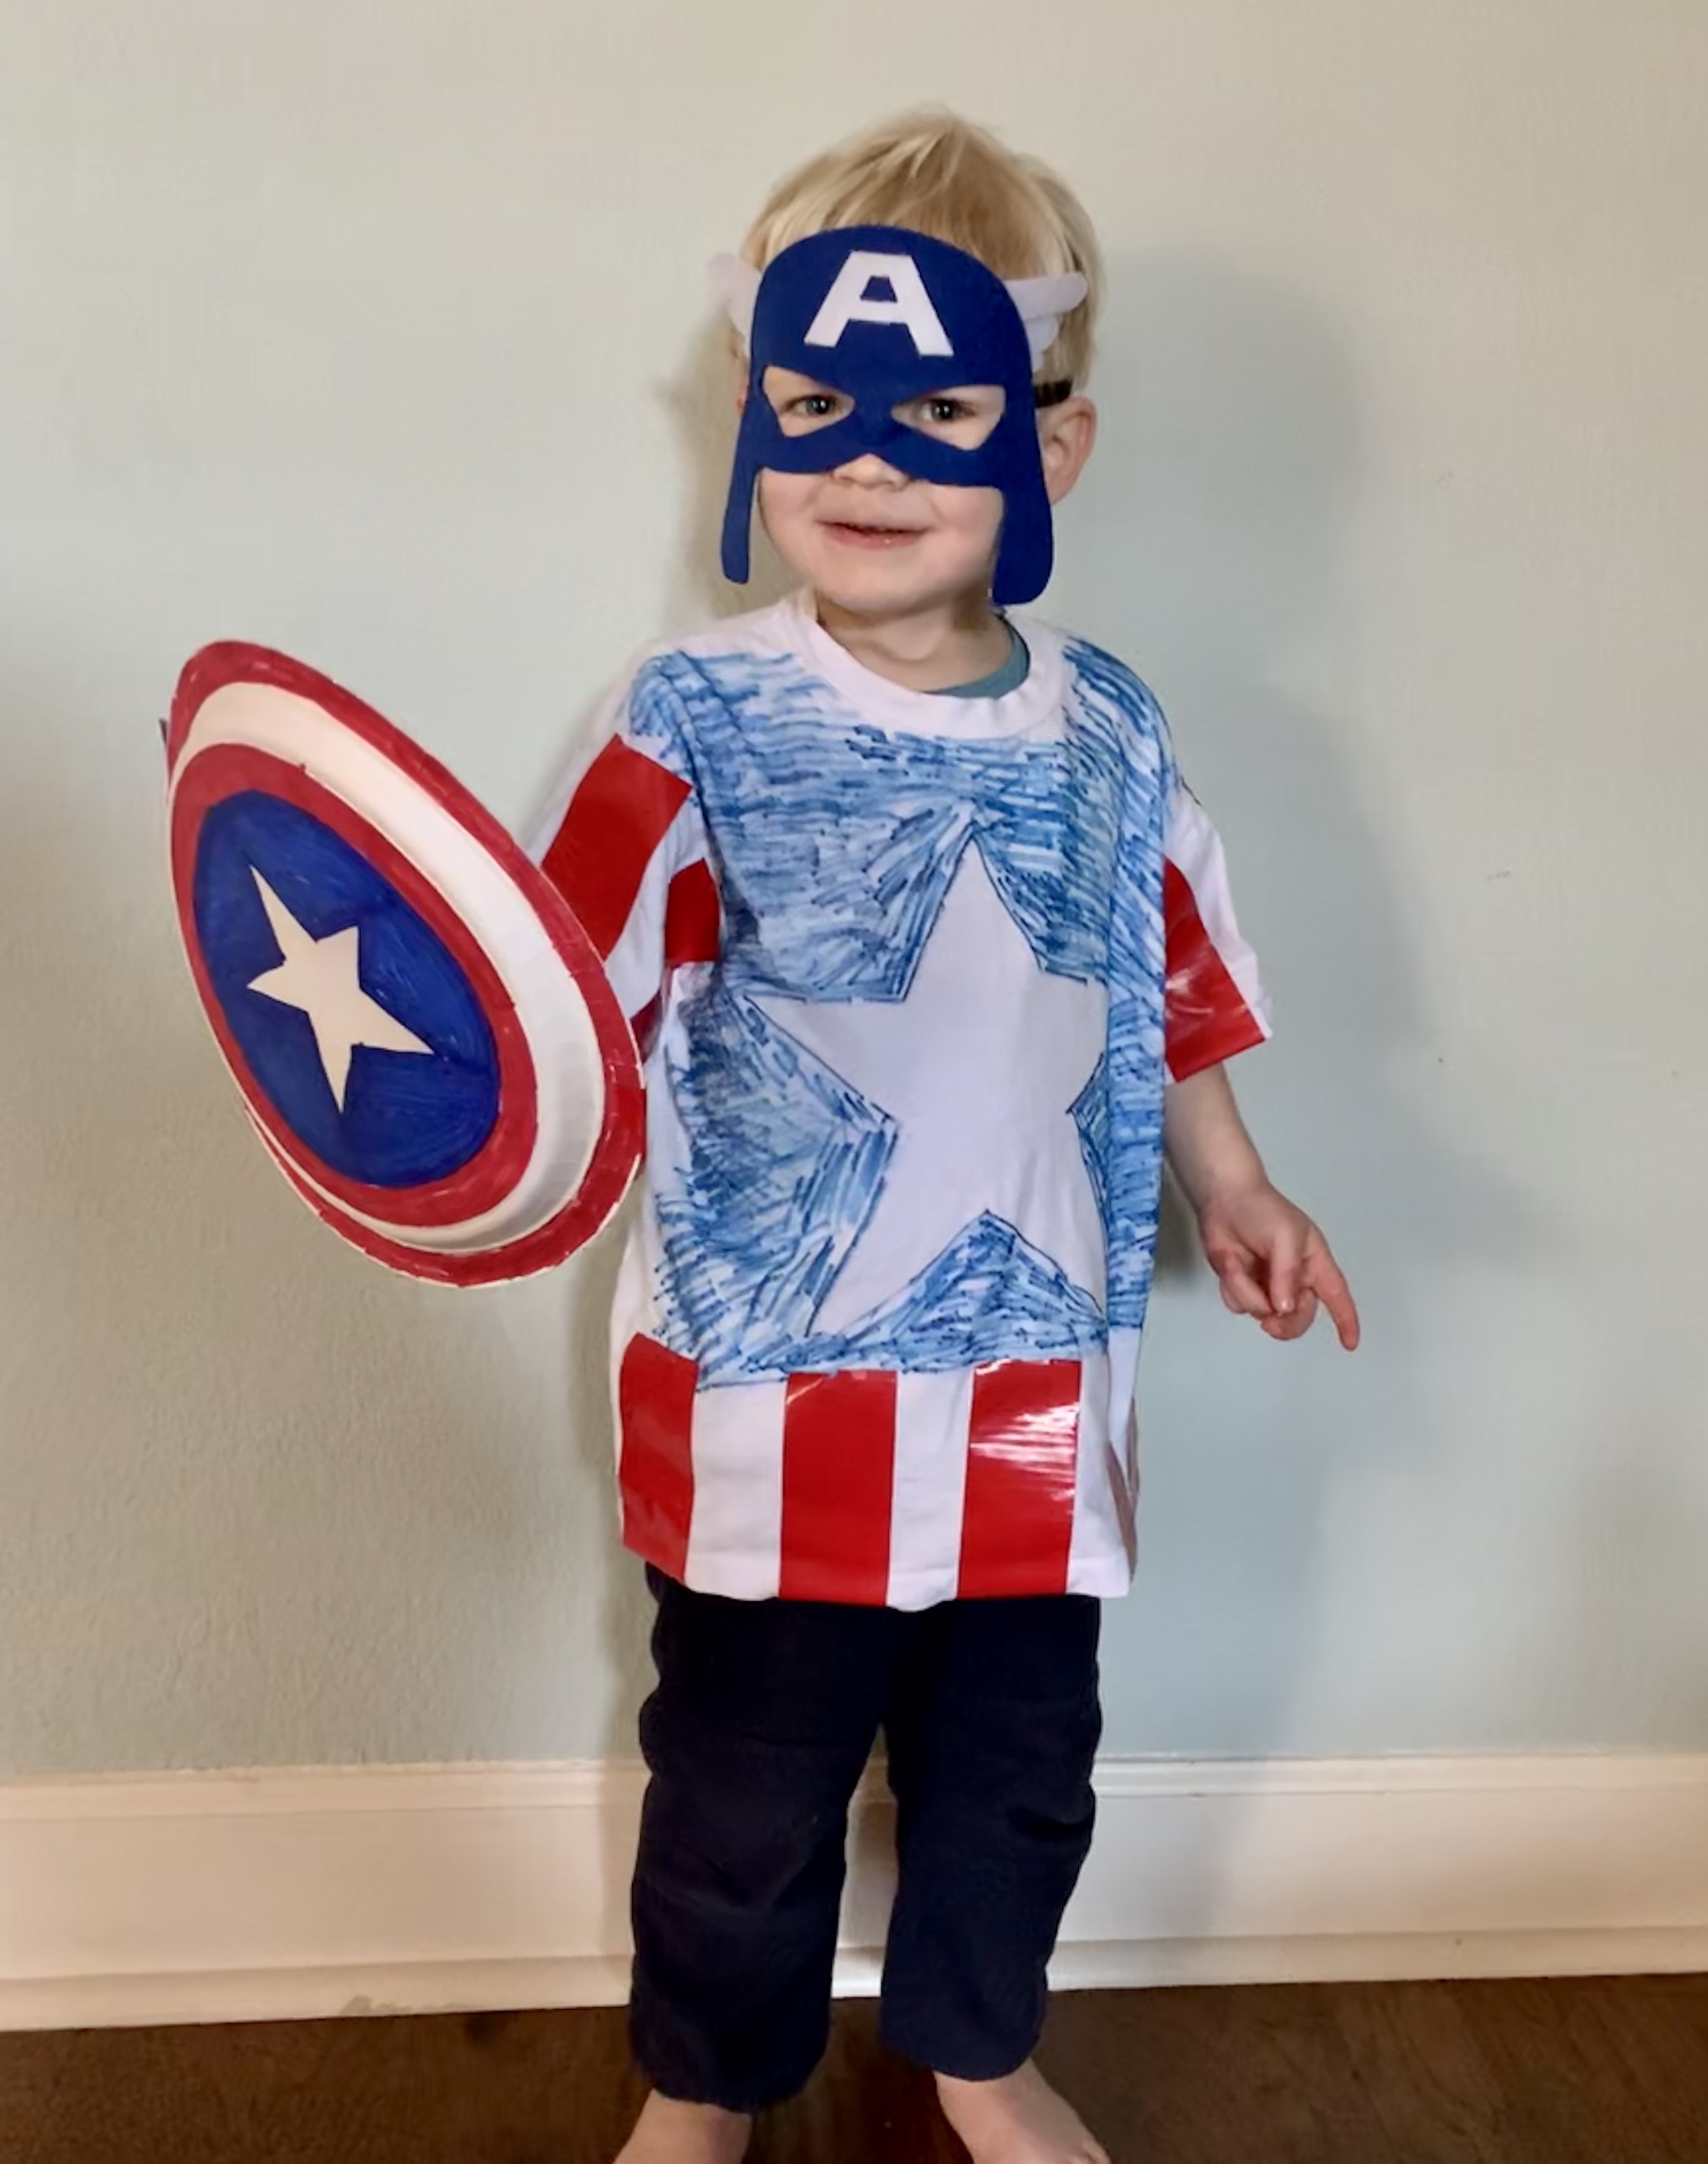
Making costumes for small children to play dress up doesn’t have to be as daunting as it sounds. With your children’s help, you can quickly and easily create simple costumes, such as pirate, superhero, Peter Pan, cowboy, Cookie Monster, and book characters to keep them entertained for hours at home. There are countless no-sew links online or you can pull up a picture of your child’s favorite character, look around the house for a t-shirt color that matches, some construction paper, and other random objects to pull together a costume that reasonably resembles the real deal. For example, if you have a Captain America fan in your house, take a white t-shirt, color it with a marker to look like the character’s shirt, then use red duct tape or markers for accents. You can make a shield by coloring the backside of a paper plate, cutting holes in the sides, and attaching string. Then, check links online for no-sew superhero masks that can be made with construction paper or felt.
3. Cereal Box Mini-Storage

I love this frugal way to repurpose what would normally become trash into little storage containers for craft bits and pieces, pens, office supplies, snacks, and any other small items that need to find their own place in your home. To create these mini-storage containers, cut an emptied cereal box all the way around approximately 2 inches from the bottom. Then, strengthen and decorate the cardboard with duct tape you have lying around. Kids can decorate the tape using markers or label it with what will be stored inside. Voila… you crafted something useful that can fit in your junk drawer and keep you organized.
4. Painted Jars for Organizing Colored Pencils or Small Toys
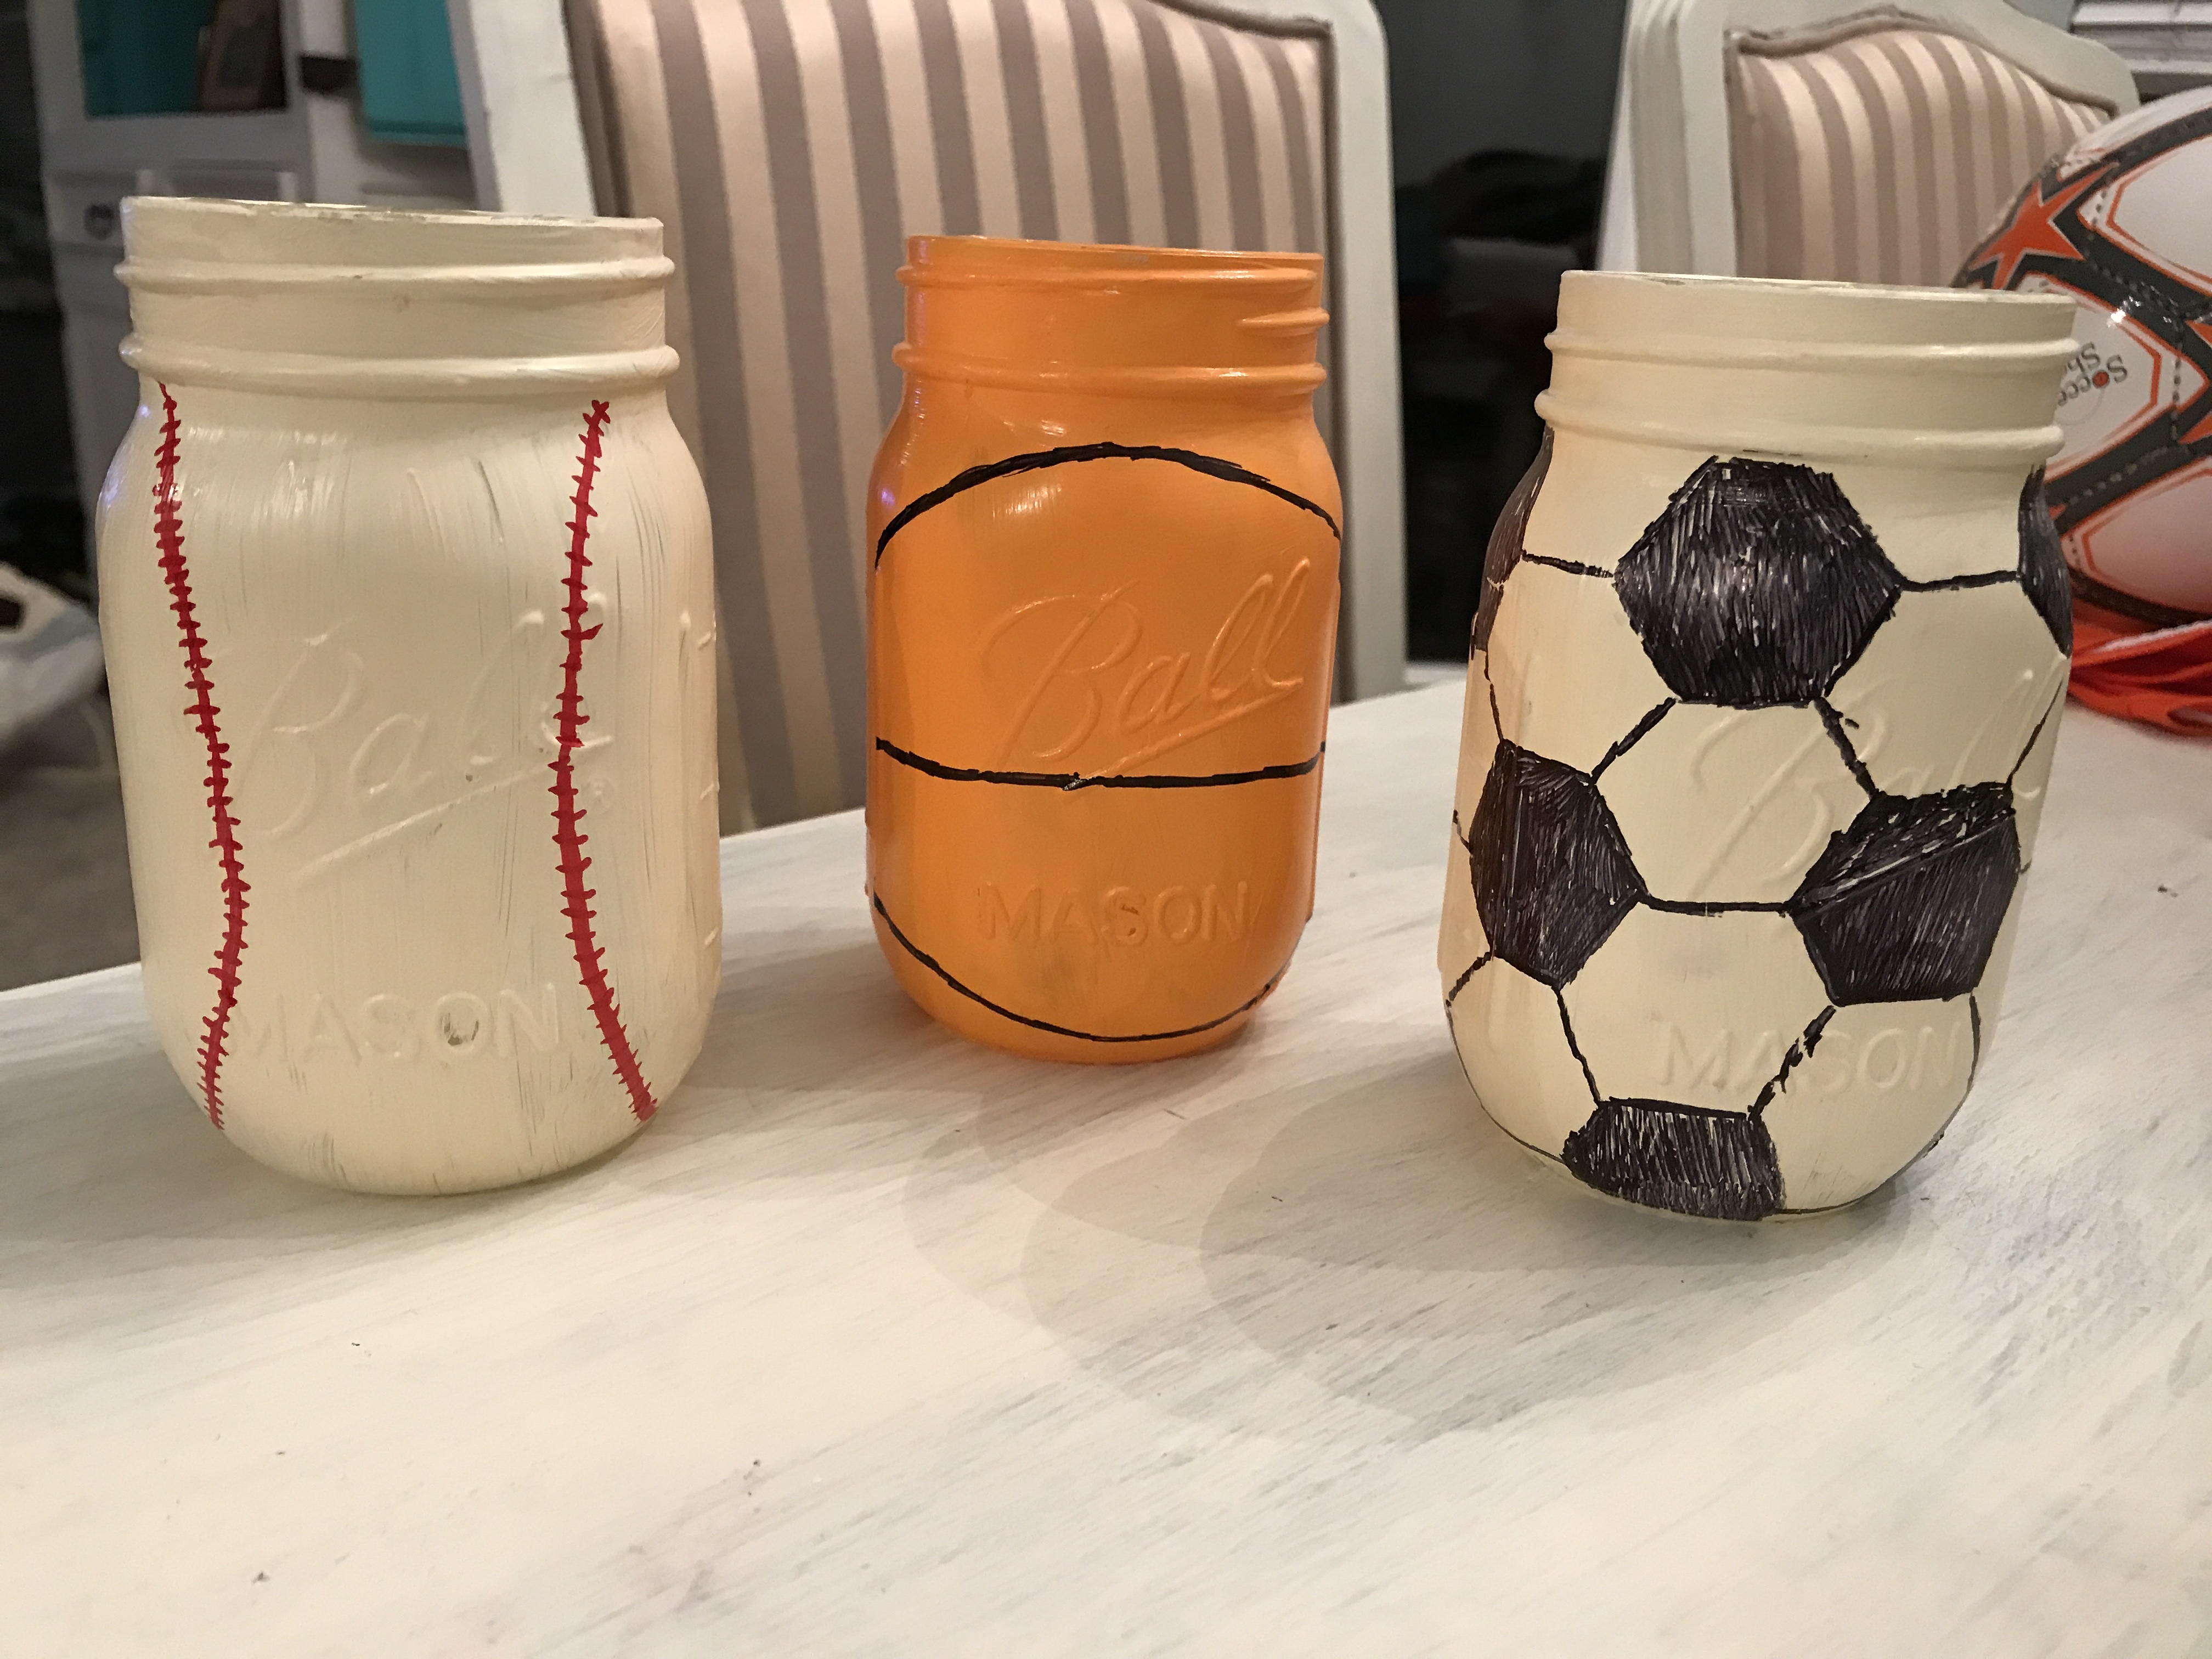
Do you have dozens of acrylic paint bottles set aside for no specific use? How about a few jars tucked away in your cabinets? If so, you and your kids can paint the jars and then set them up on desks or bookshelves as a way to sort and organize colored pencils, pens, toys, erasers, legos, etc.
5. S’more Love for Neighbors and Friends

Looking for a way to spread love during these unique times? This campfire art project allows your kids to make something beautiful and gives you all an opportunity to share s’more love with others. Materials needed: small twigs from the yard, red and yellow paint, thick paper or cardboard, cotton balls, and a small amount of clay or play-doh (colored paper, cardboard, or just about any craft material can be substituted here). To make your campfire, glue the twigs at the bottom of the paper to look like fire starters. Then pour the red and yellow paint onto paper plates. (Mix some red and yellow to make orange as well.) Let kids paint or dip their palms into the paint and make handprints to resemble flames above the twigs on the paper. Make as many or as few prints as you want until you have your desired campfire image. Then, create a s’more above the fire with a rectangular strip or brown paper or cardboard to represent the graham cracker, a bit of brown or black clay to represent chocolate, and a few cotton balls to make your marshmallows. Write a sweet note at the top of the paper, and deliver the beautiful creation along with a baggie of s’mores ingredients to a friend’s front porch.
6. Easy Art Wall

There are many ways to make an art wall in your home for all of those beautiful creations mentioned in the first paragraph. The easiest way I know how to do this is simply to hang a wire and use clothes pins to hold up those treasured pieces and continually replace the old with the new. To include the kids in this activity, have them decorate the clothespins. They can make tiny faces and glue on felt or paper clothing. They can make butterflies and dragonflies. They can glue on poms to make cute, colorful insects. The options are endless, and your art wall will be even cuter than you imagined.
7. Birthday-in-a-Box

Bless someone on their quarantined birthday by filling a box full of special decorations and surprises. Think of a theme, create games or activities (pull pages from a themed coloring book, pass down a puzzle, or just include sidewalk chalk and some instructions for a driveway obstacle course), scavenge the house for party supplies or decorations, draw faces on inflated balloons, and make a card. This box will be chock full of love and fun, plus your kids will have a blast doing a crafty and kind act for another person.
8. Homemade Clean-Up Labels

Has your kid ever used the excuse of not knowing where something goes to escape a clean-up chore? This easy craft serves the purpose of giving your child an opportunity to be creative and keep their little hands busy, while also making labels for shelves, bins, and drawers for easy clean up. Print blank pictures of toys or toy categories, such as legos, dolls, trains and cars, costumes, doll clothes, play-doh, or any other favorite toy in your home. Then, let children paint, color, or recreate the printed picture using their own supplies and creative ideas. Glue or tape the new labels in their appropriate location and encourage kids to “sort” their toys to match the labels.
9. Recycled Materials Art

Search the house (or better yet, the garage) for unused, unique items that can be repurposed to make beautiful art. Buttons can be eyes, twine can be a smile, a nail can be a nose, and yarn can be hair. Find an old frame for the artwork, and you have a personal and meaningful piece of art for your wall.
10. Disposable Table Cloth

Cover your table with easel, butcher, or the back side of holiday wrapping paper. Tape it down and let the kids decorate it. This is such an easy and fun way to keep kids busy for a long time! Plus, you can use your disposable table cloth to teach kids how to set the table by drawing plates, silverware, and napkins at one setting or you can practice math skills by measuring the table and using division to separate the table into equal art “squares” for each family member (and then calculate area and perimeter) or kids can simply use the tablecloth as their scratch/note paper while completing their online schoolwork.
11. Painted Rocks as Reward Tokens
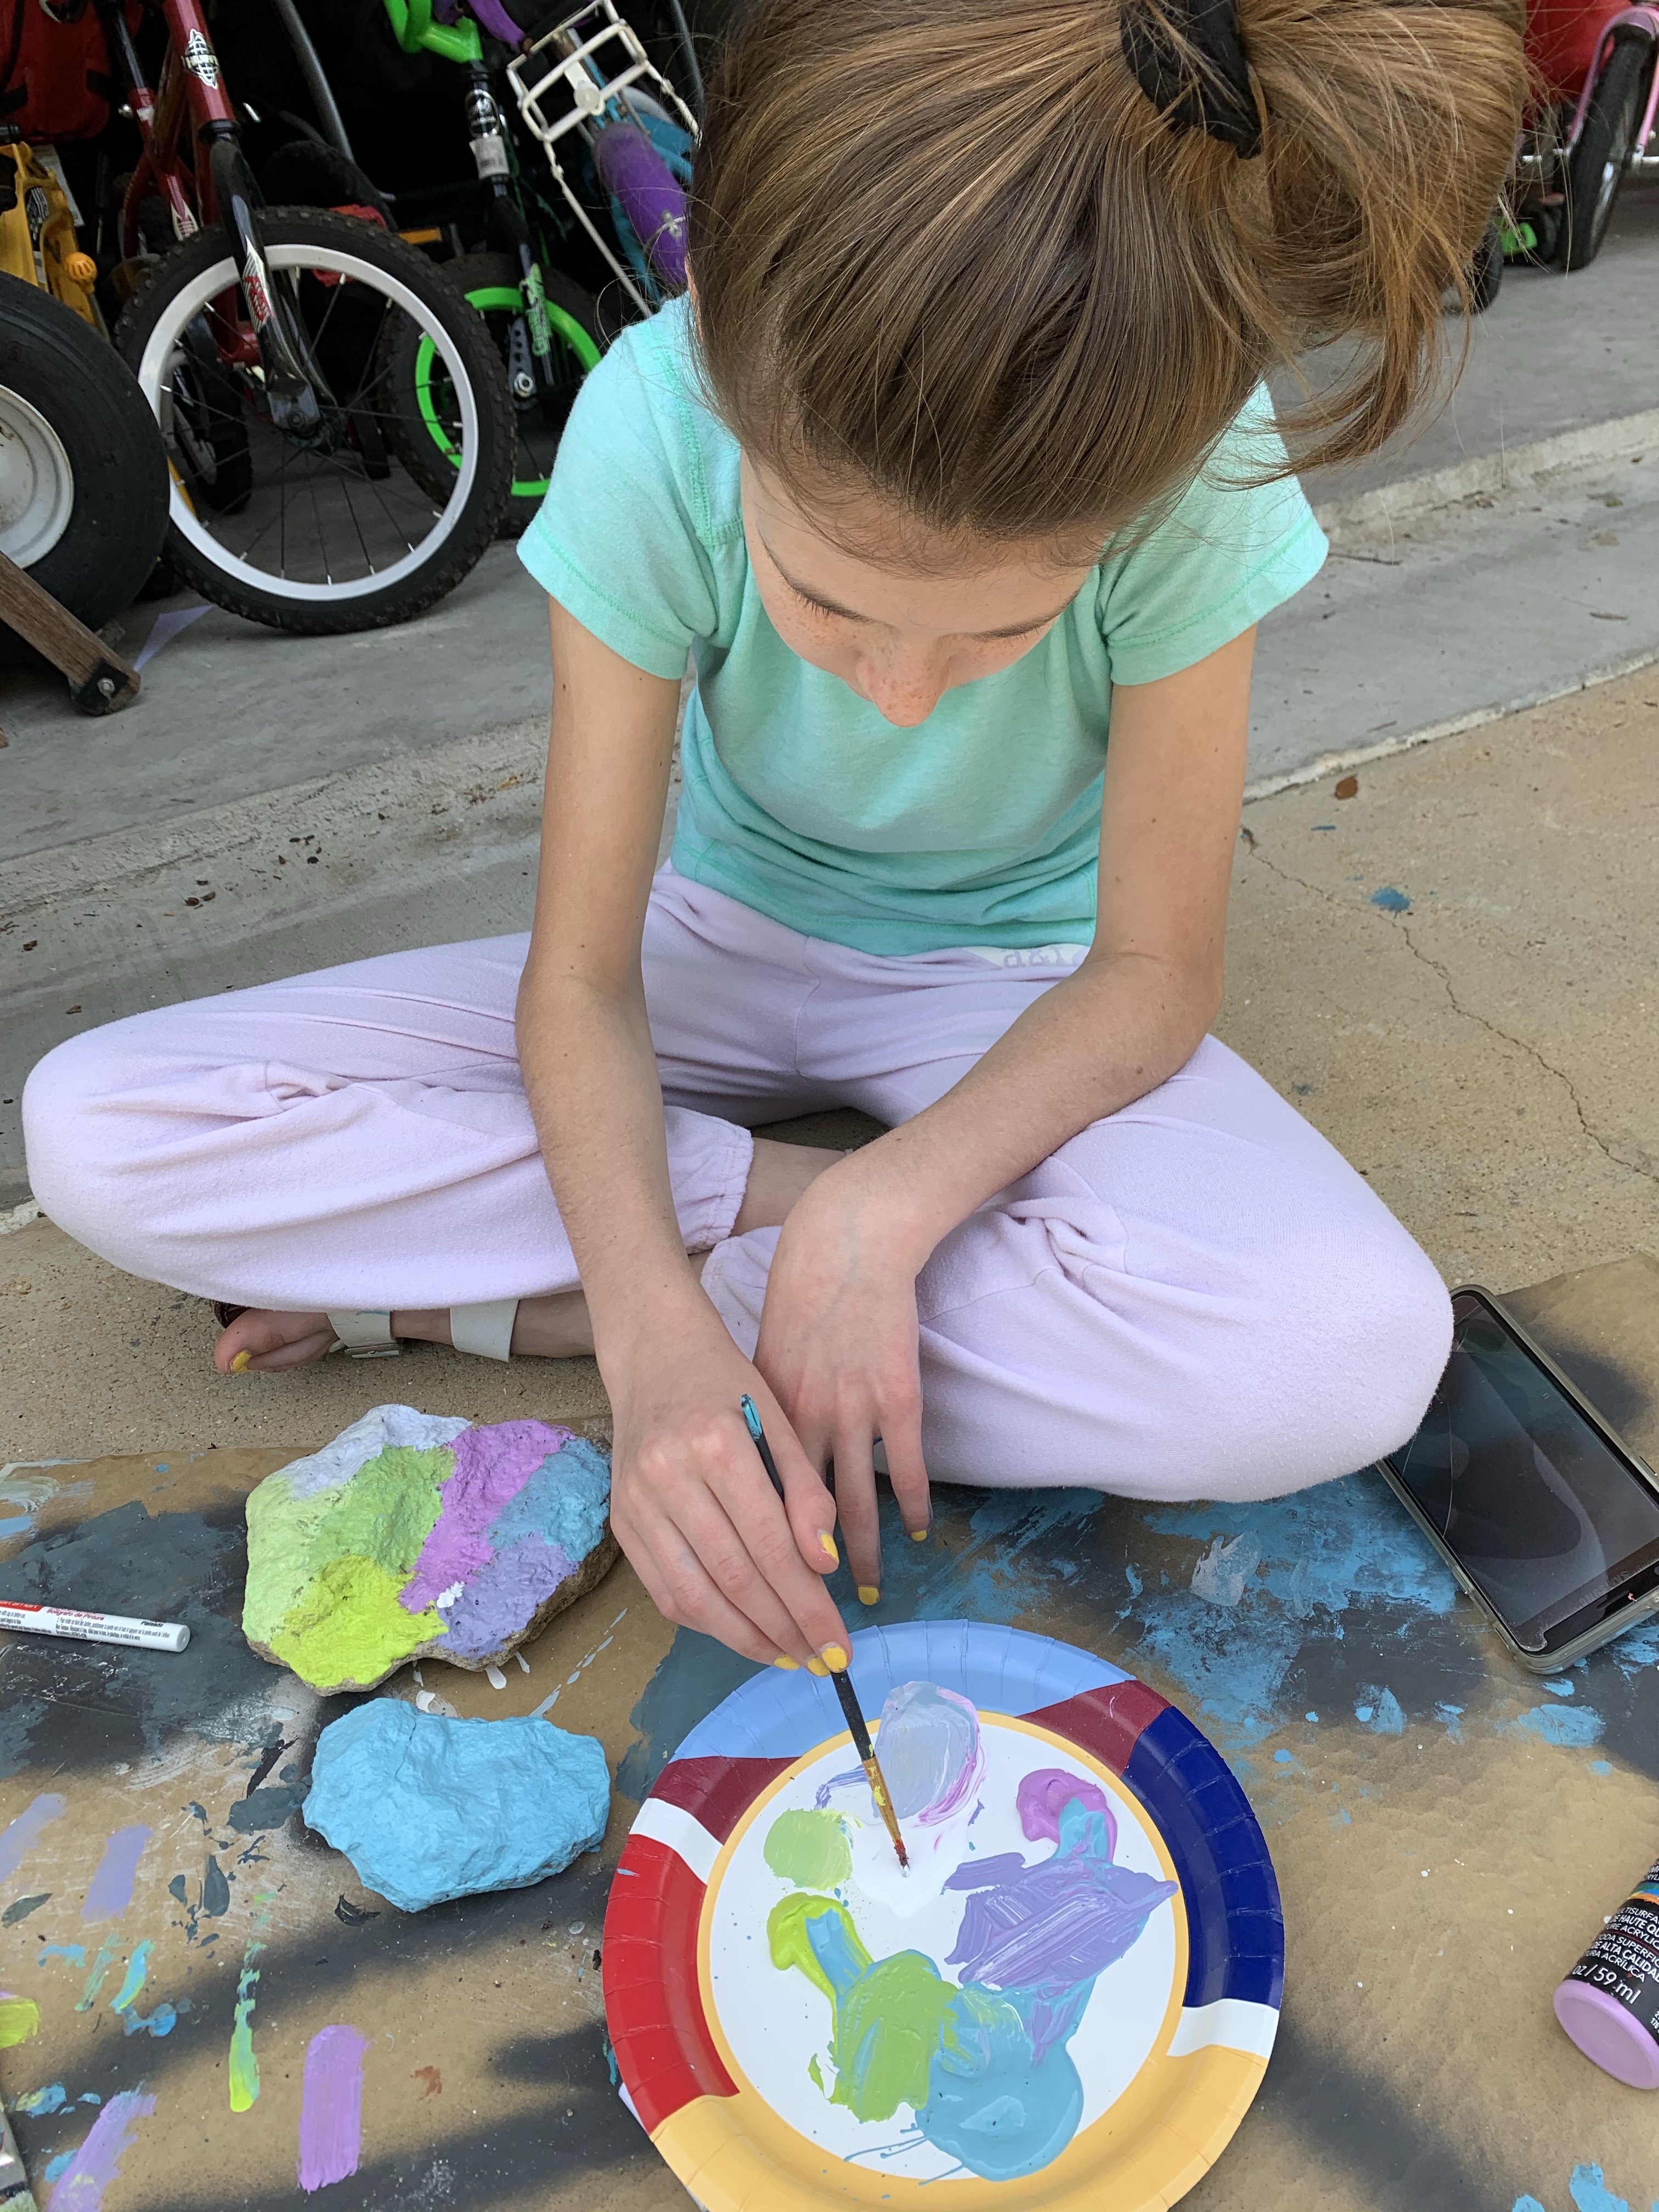
Most kids love to paint rocks, but you can use these painted rocks as more than just sidewalk or trail decorations. Think of behaviors you want your children to work on. Then, collect rocks and separate them into piles for each behavior. Maybe you have an “inside voice” pile, a “close the back door without reminders” pile, and a “flush the toilet” pile. For each desired behavior, assign a color. Have your child paint all the rocks in that pile with one specific color. (They can add designs too.) When the rocks have dried, bring them in the house and set them next to bowls or jars labeled with the desired behavior. Each time your child achieves that goal, have him or her place a colored rock in the jar or bowl. When it’s filled, give a reward.
Happy Crafting! Please share your creations below or on Instagram with the tag @dripping_with_kids or #drippingwithkids. I’d love to see your crafts with a purpose!!
